Add property
Step‑by‑step wizard to add a property: portfolio, address, units, energy certificates, metering points and final review.
Overview
The /legg-til-eiendom wizard helps you register a new building step by step.
You can save progress along the way and continue later.
Step by step
1. Select portfolio
- Choose which portfolio the property belongs to, or create a new one.
- Give the portfolio a name, slug (URL-friendly name), and optionally an image.
2. Address and property data
- Search for the address and select the correct result.
- Fill in municipality, cadastral numbers (Gnr/Bnr/Snr).
- Map and coordinates are stored for map view and climate data.
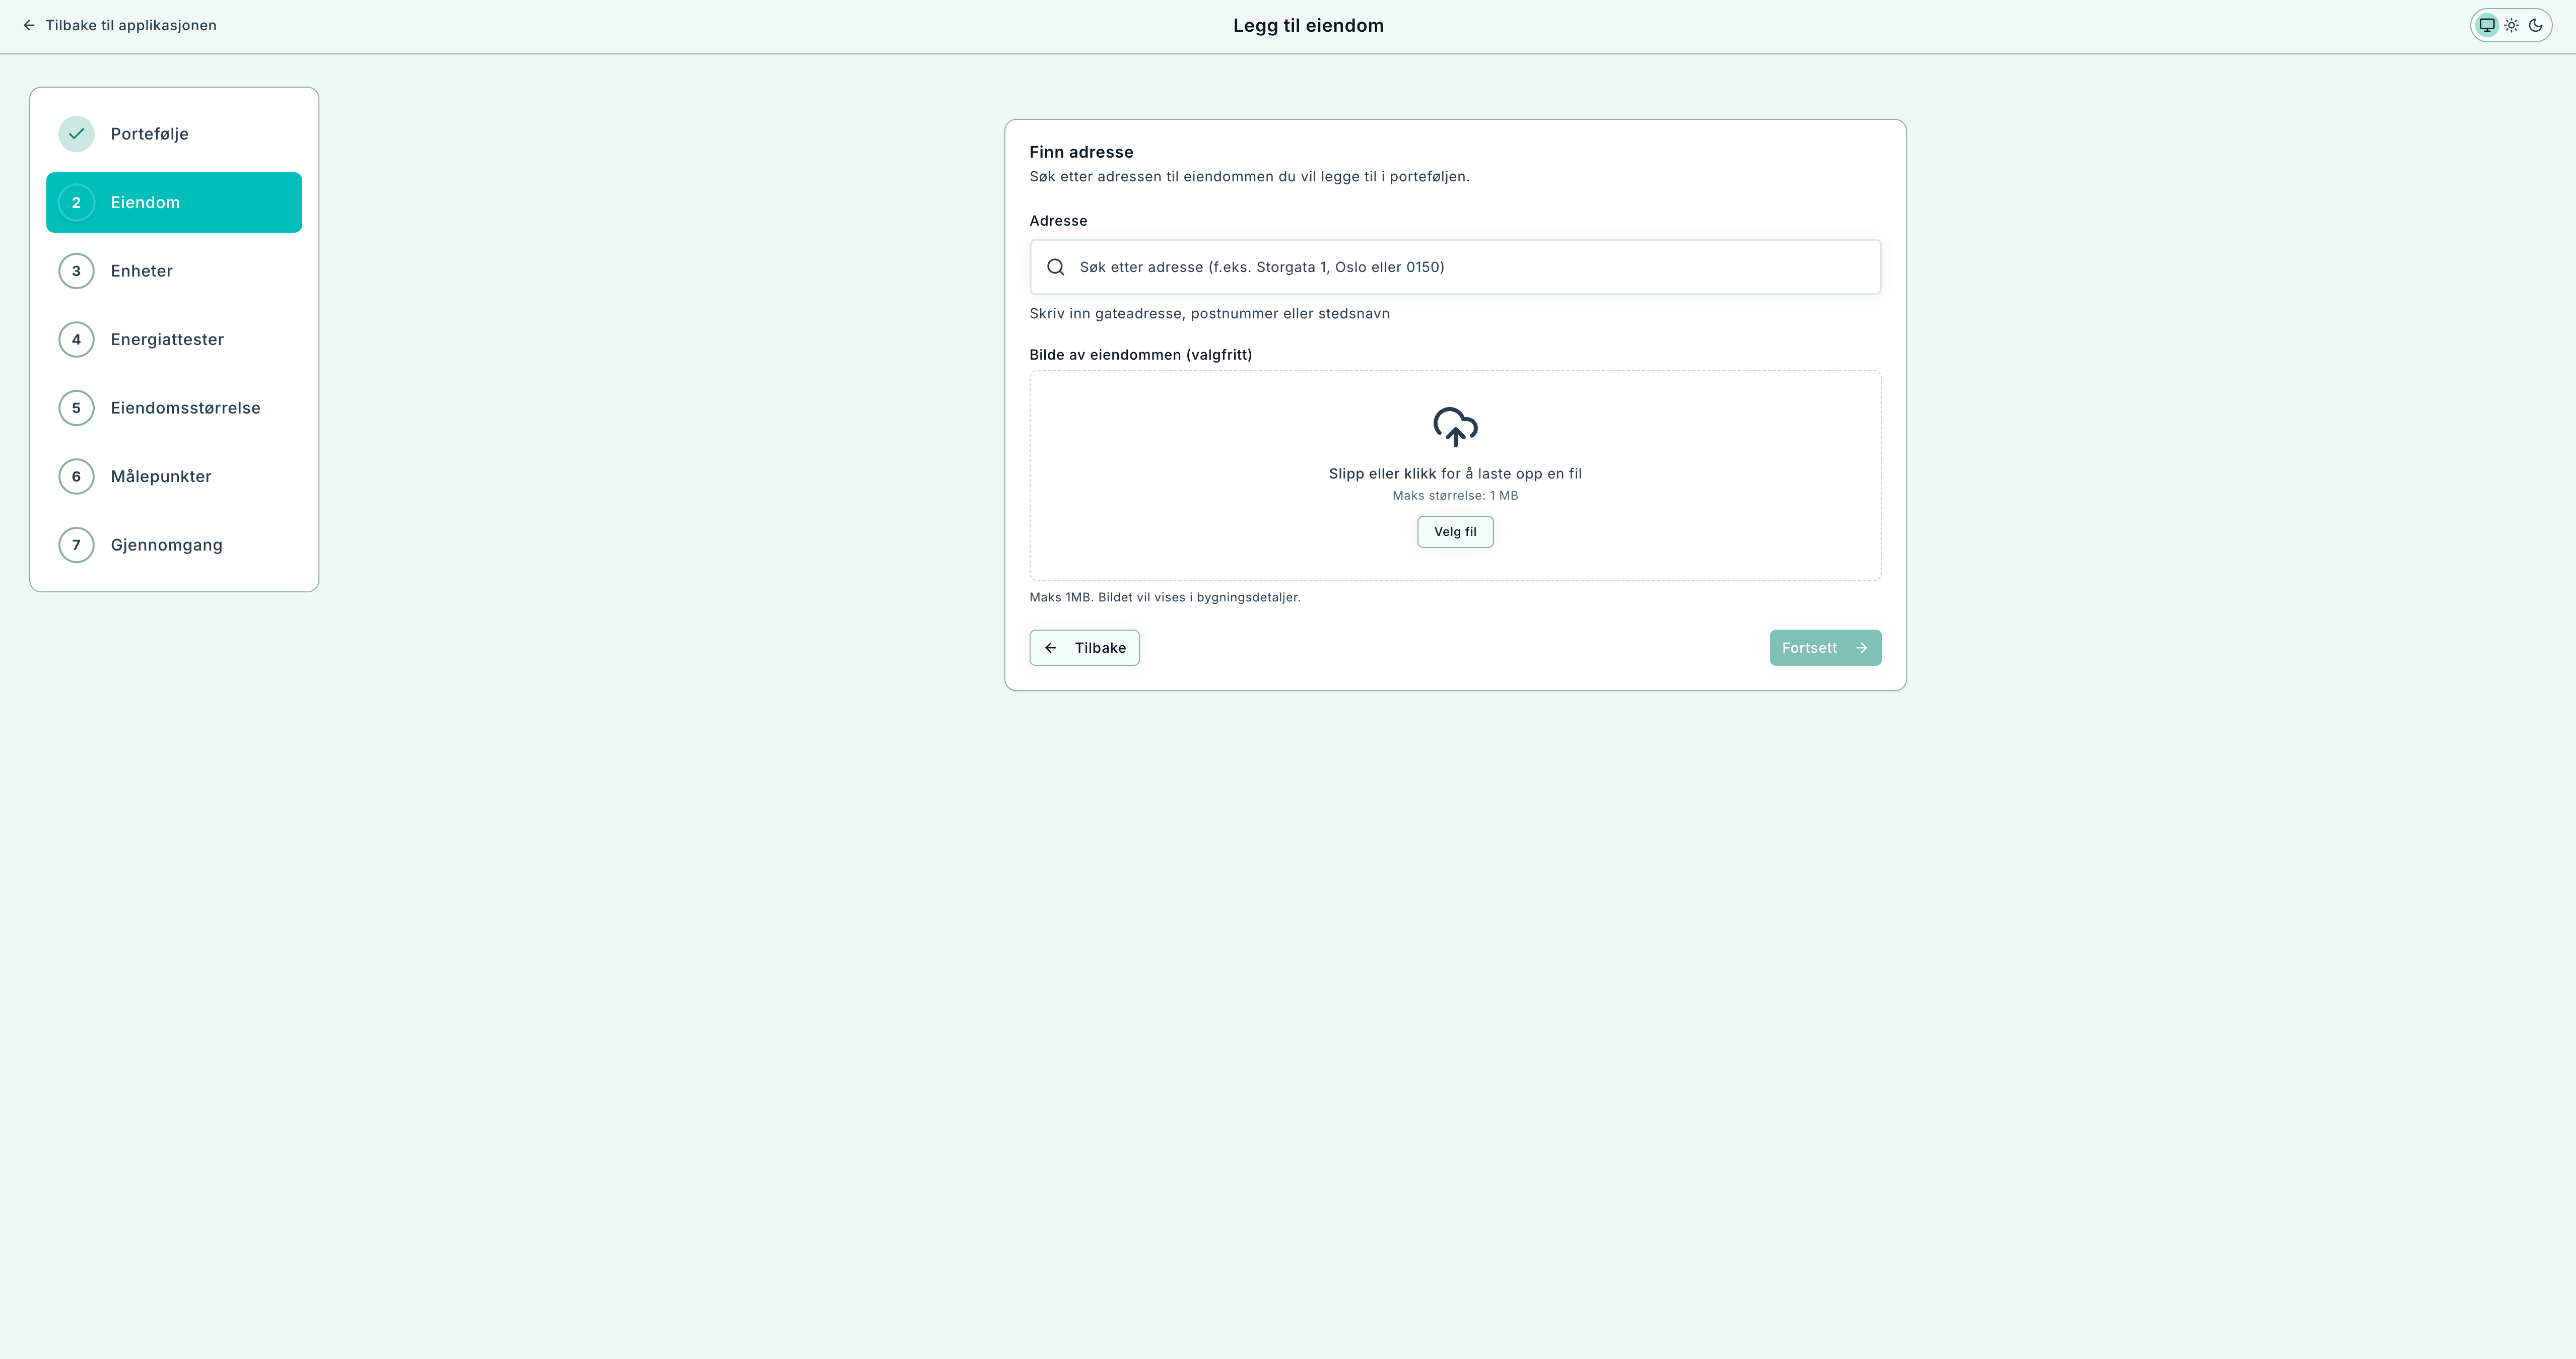
Search for address. Optional: upload an image of the property.
3. Units and categories
- Link relevant building units or sections to the property.
- Select building categories for better benchmarking and calculations.
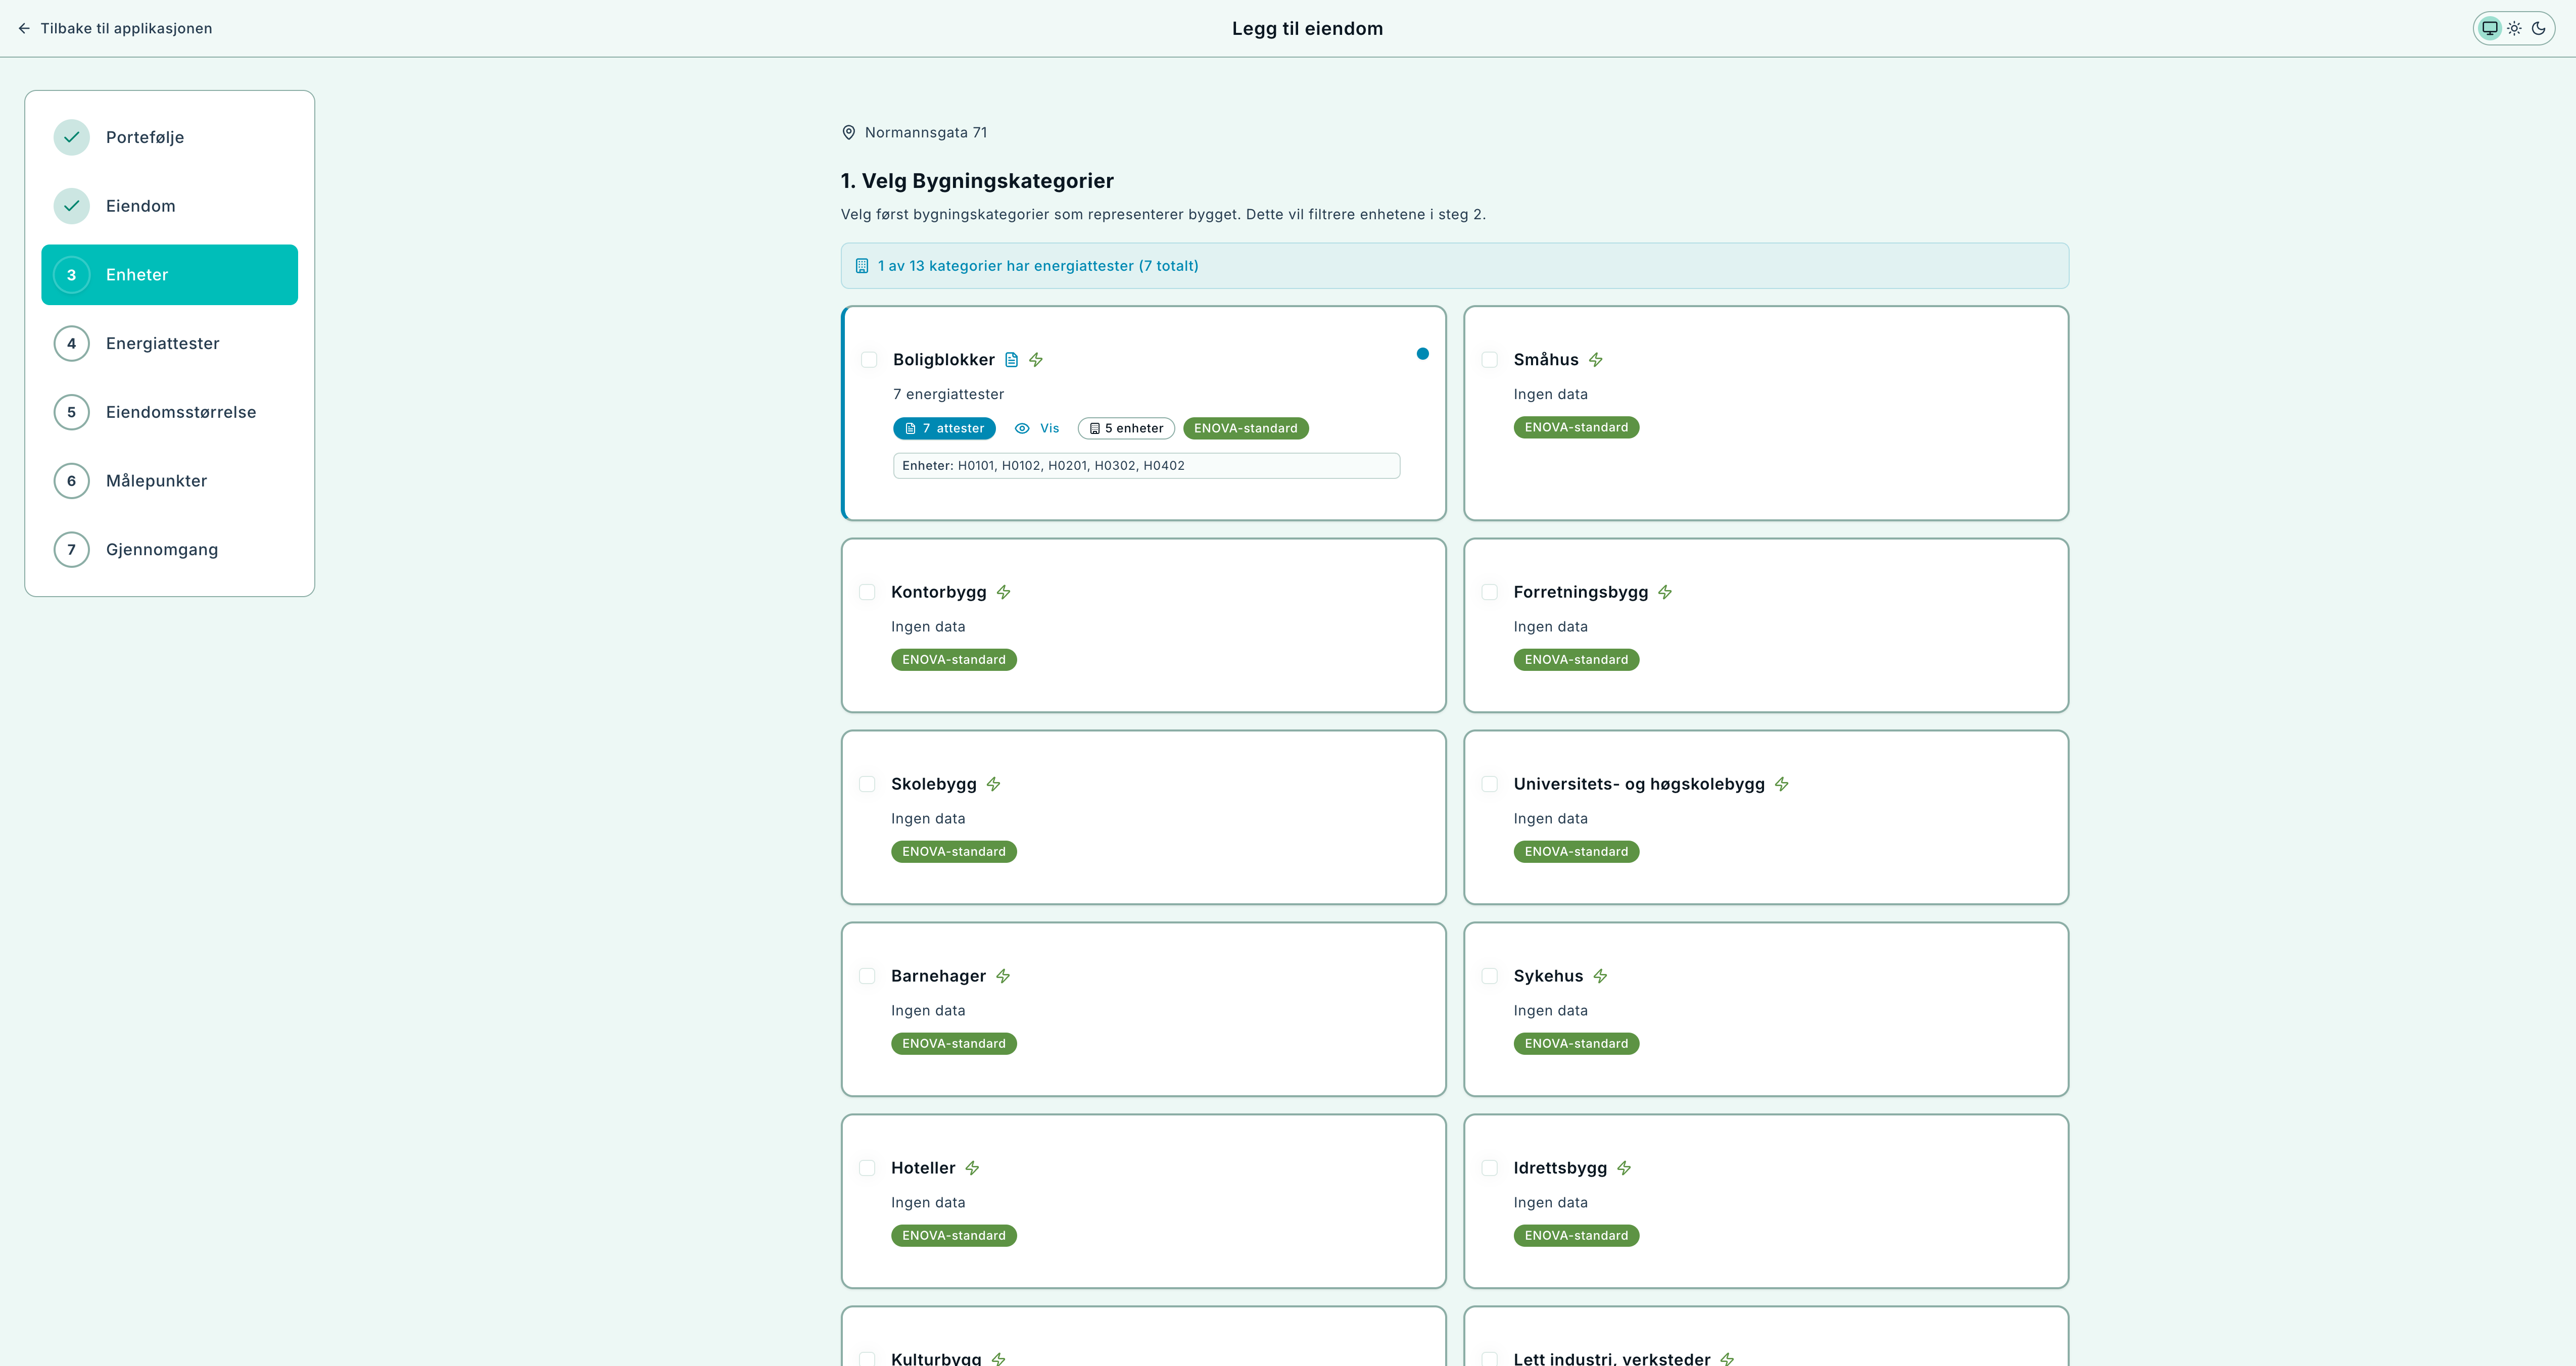
Choose building categories that fit the property.
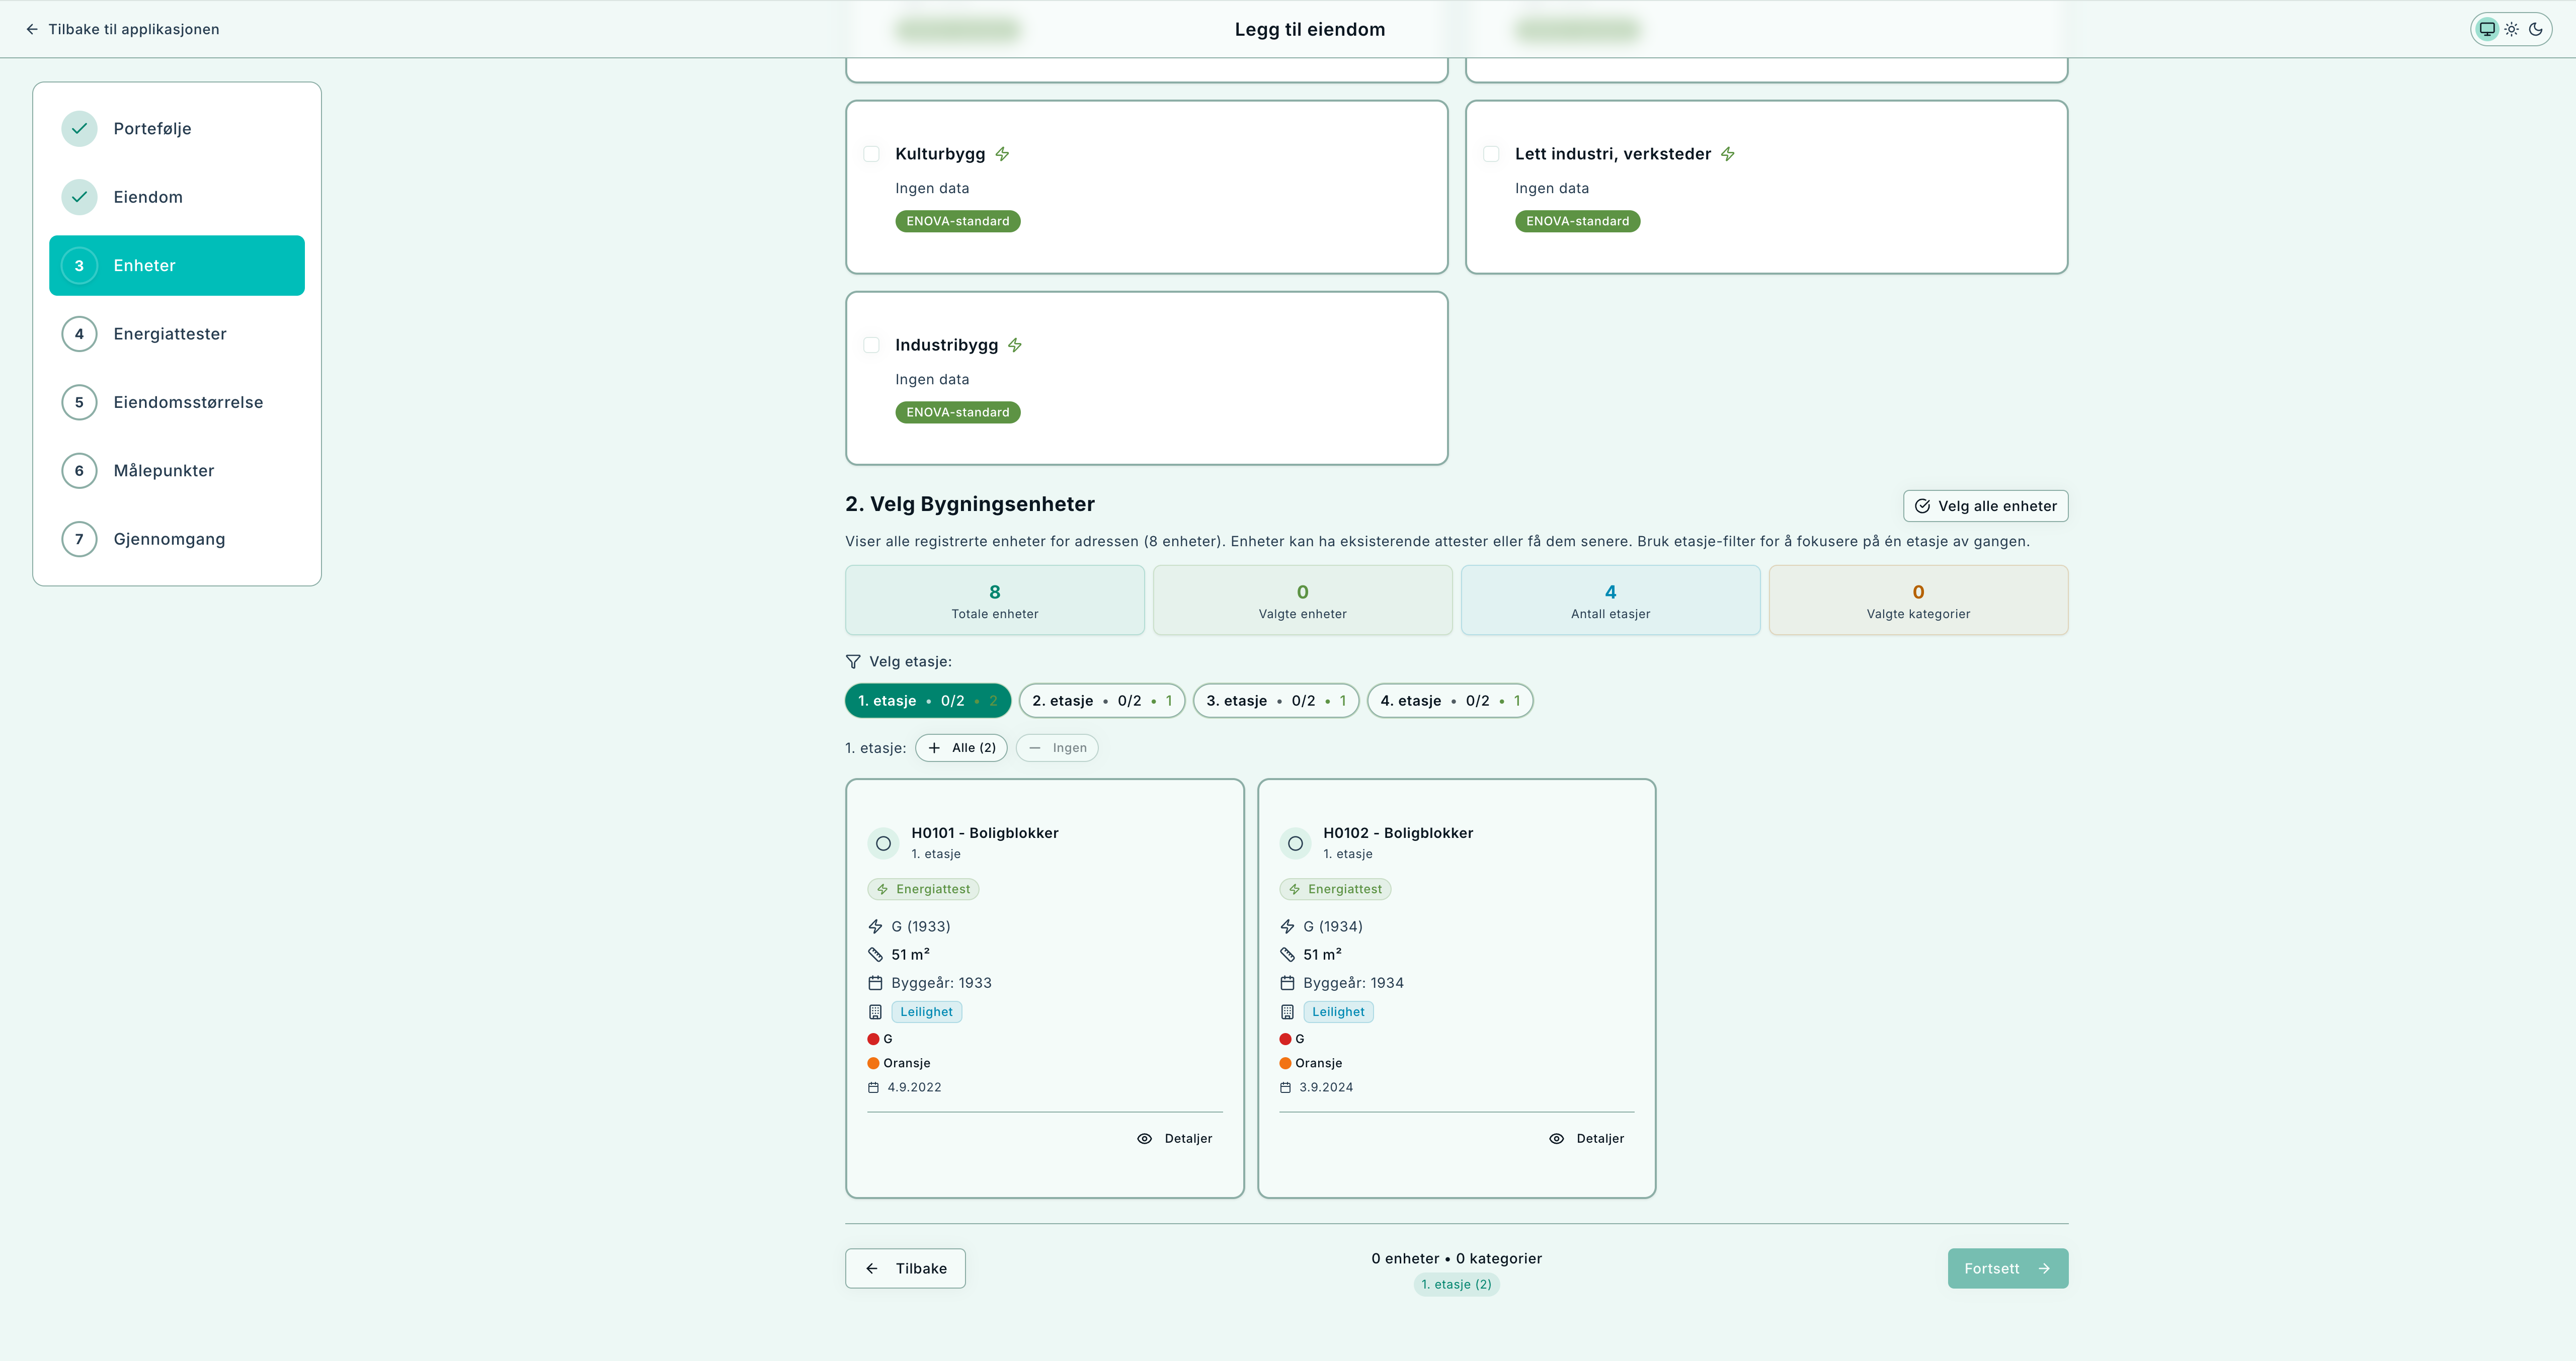
Select building units. Use floor filters for precision.
4. Energy certificates
- Fetch certificates automatically (if available) or upload PDF/link manually.
- Certificate data is used for theoretical energy and carbon intensity and for building size/year.
- Hide certificates that are not representative.
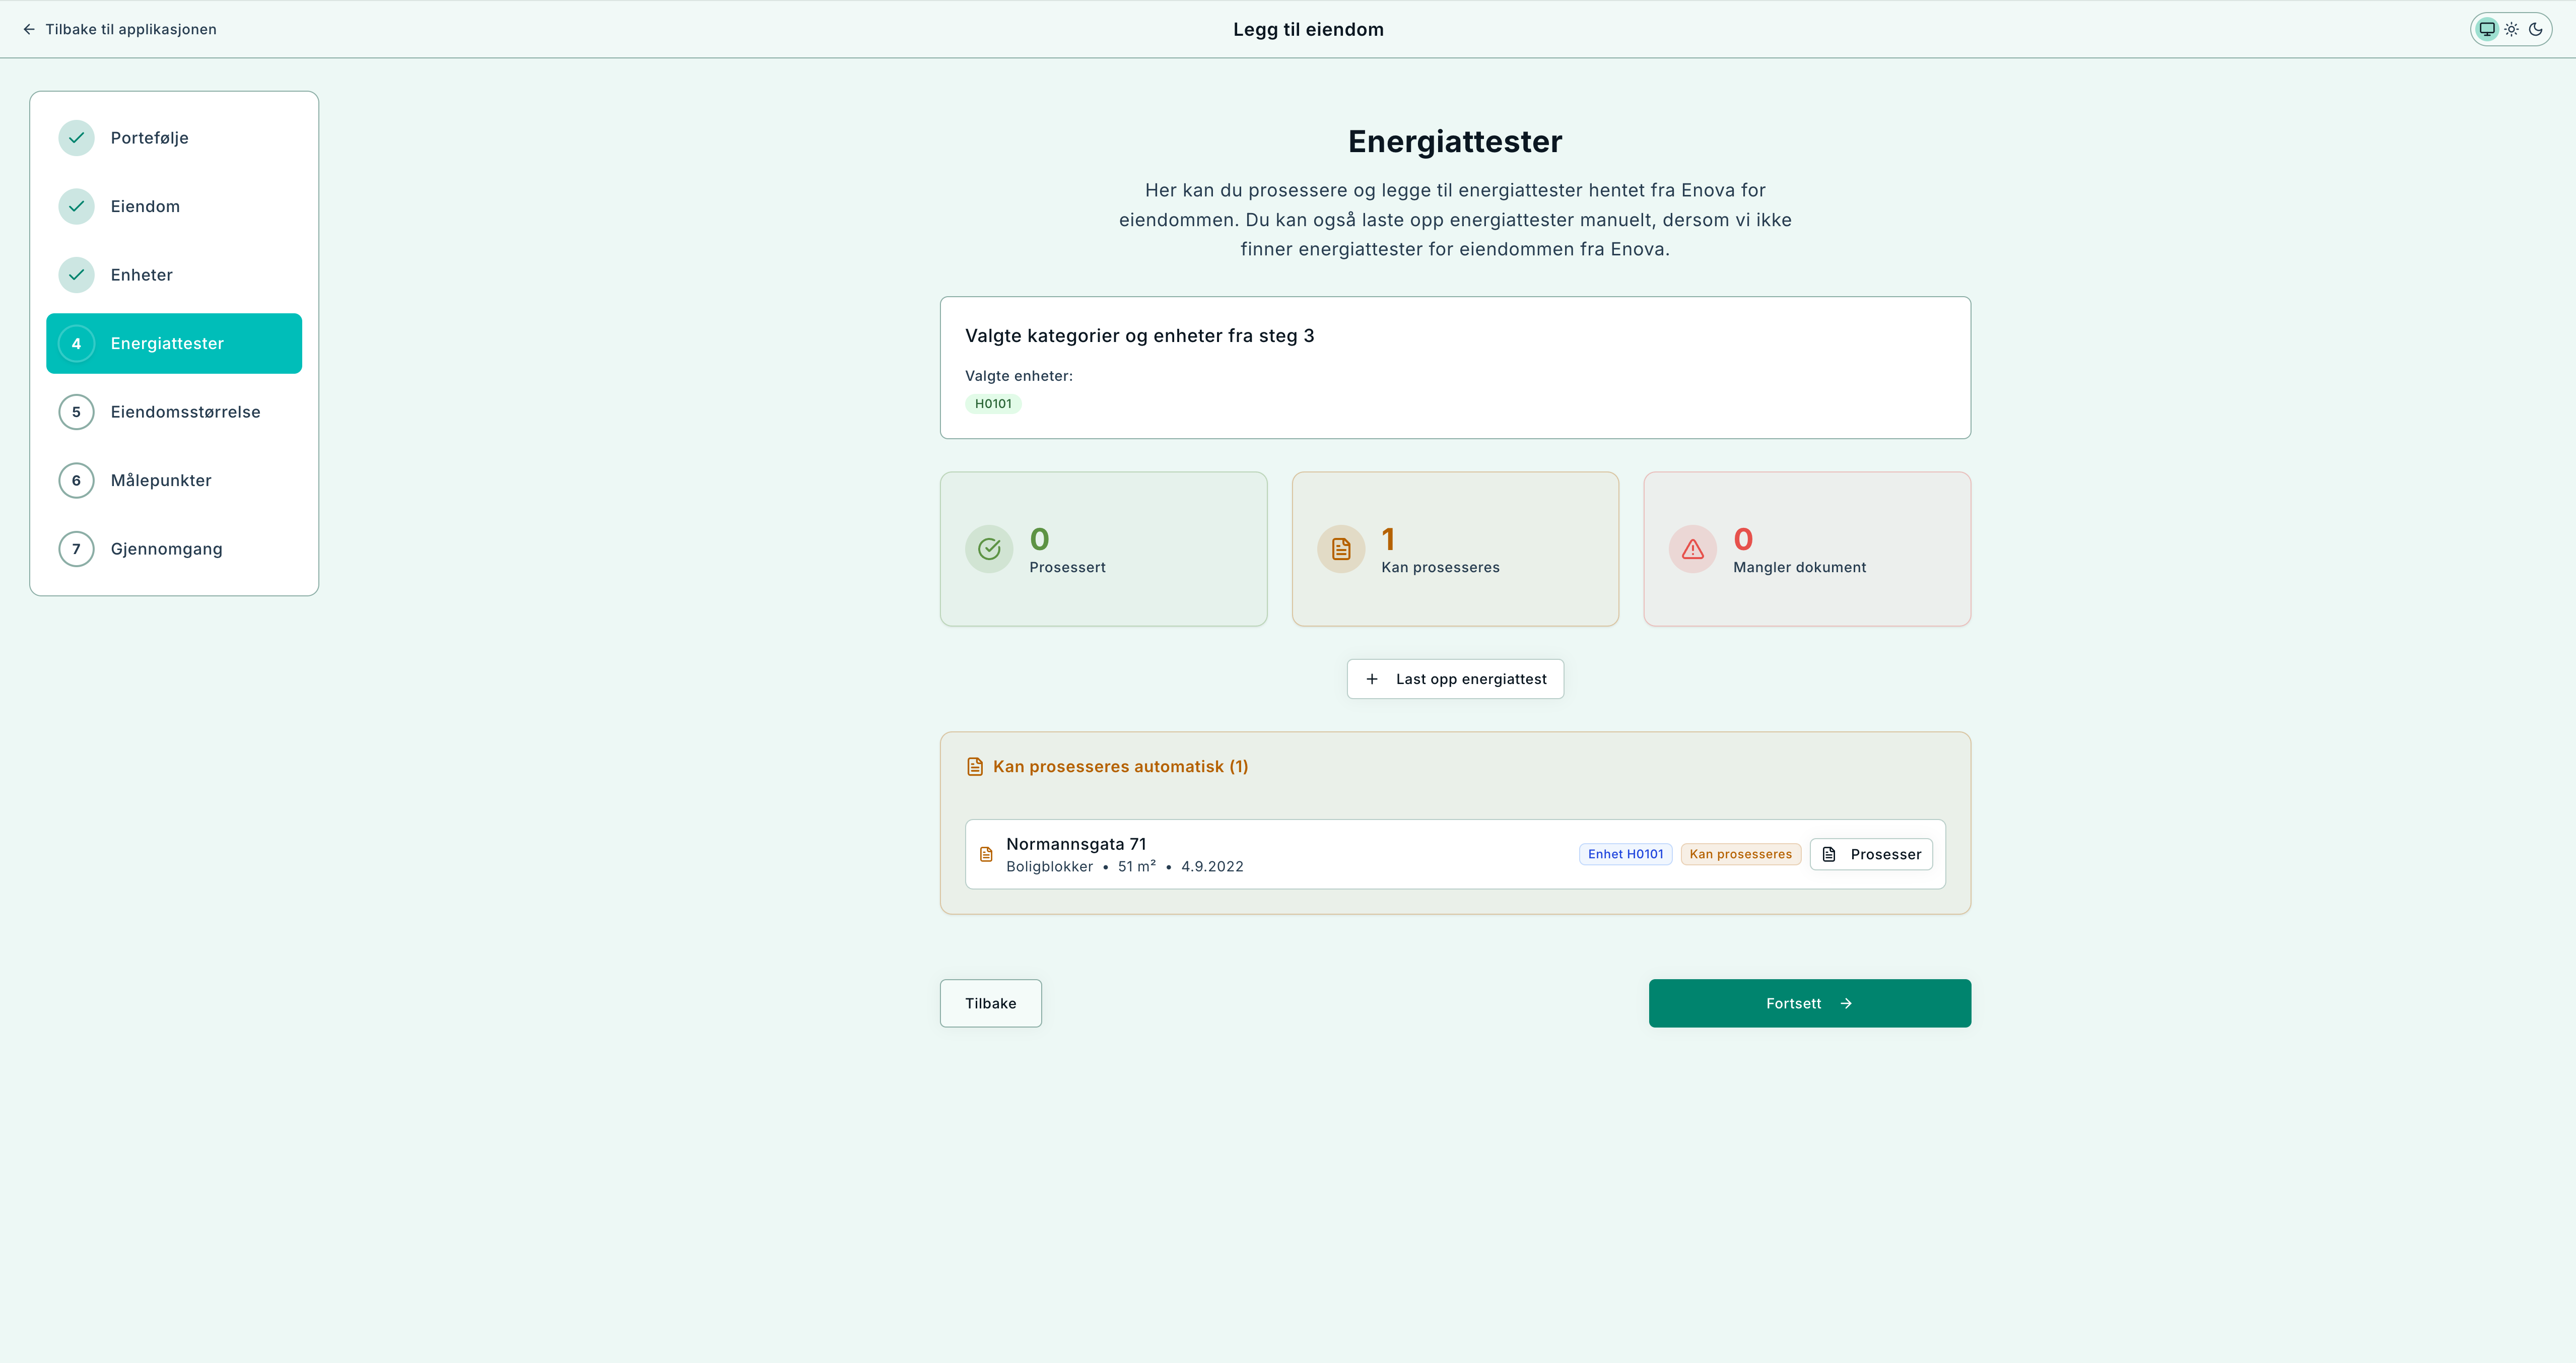
Process certificates automatically, or upload manually if needed.
5. Tenants
- Add tenants (name, area, contact).
- Import from spreadsheets is supported if needed.
6. Metering points (optional)
- Add electricity, district heating, and water meters.
- Fill in ID, type, status, and area (if known).
- Missing IDs? Skip – they can be added later.
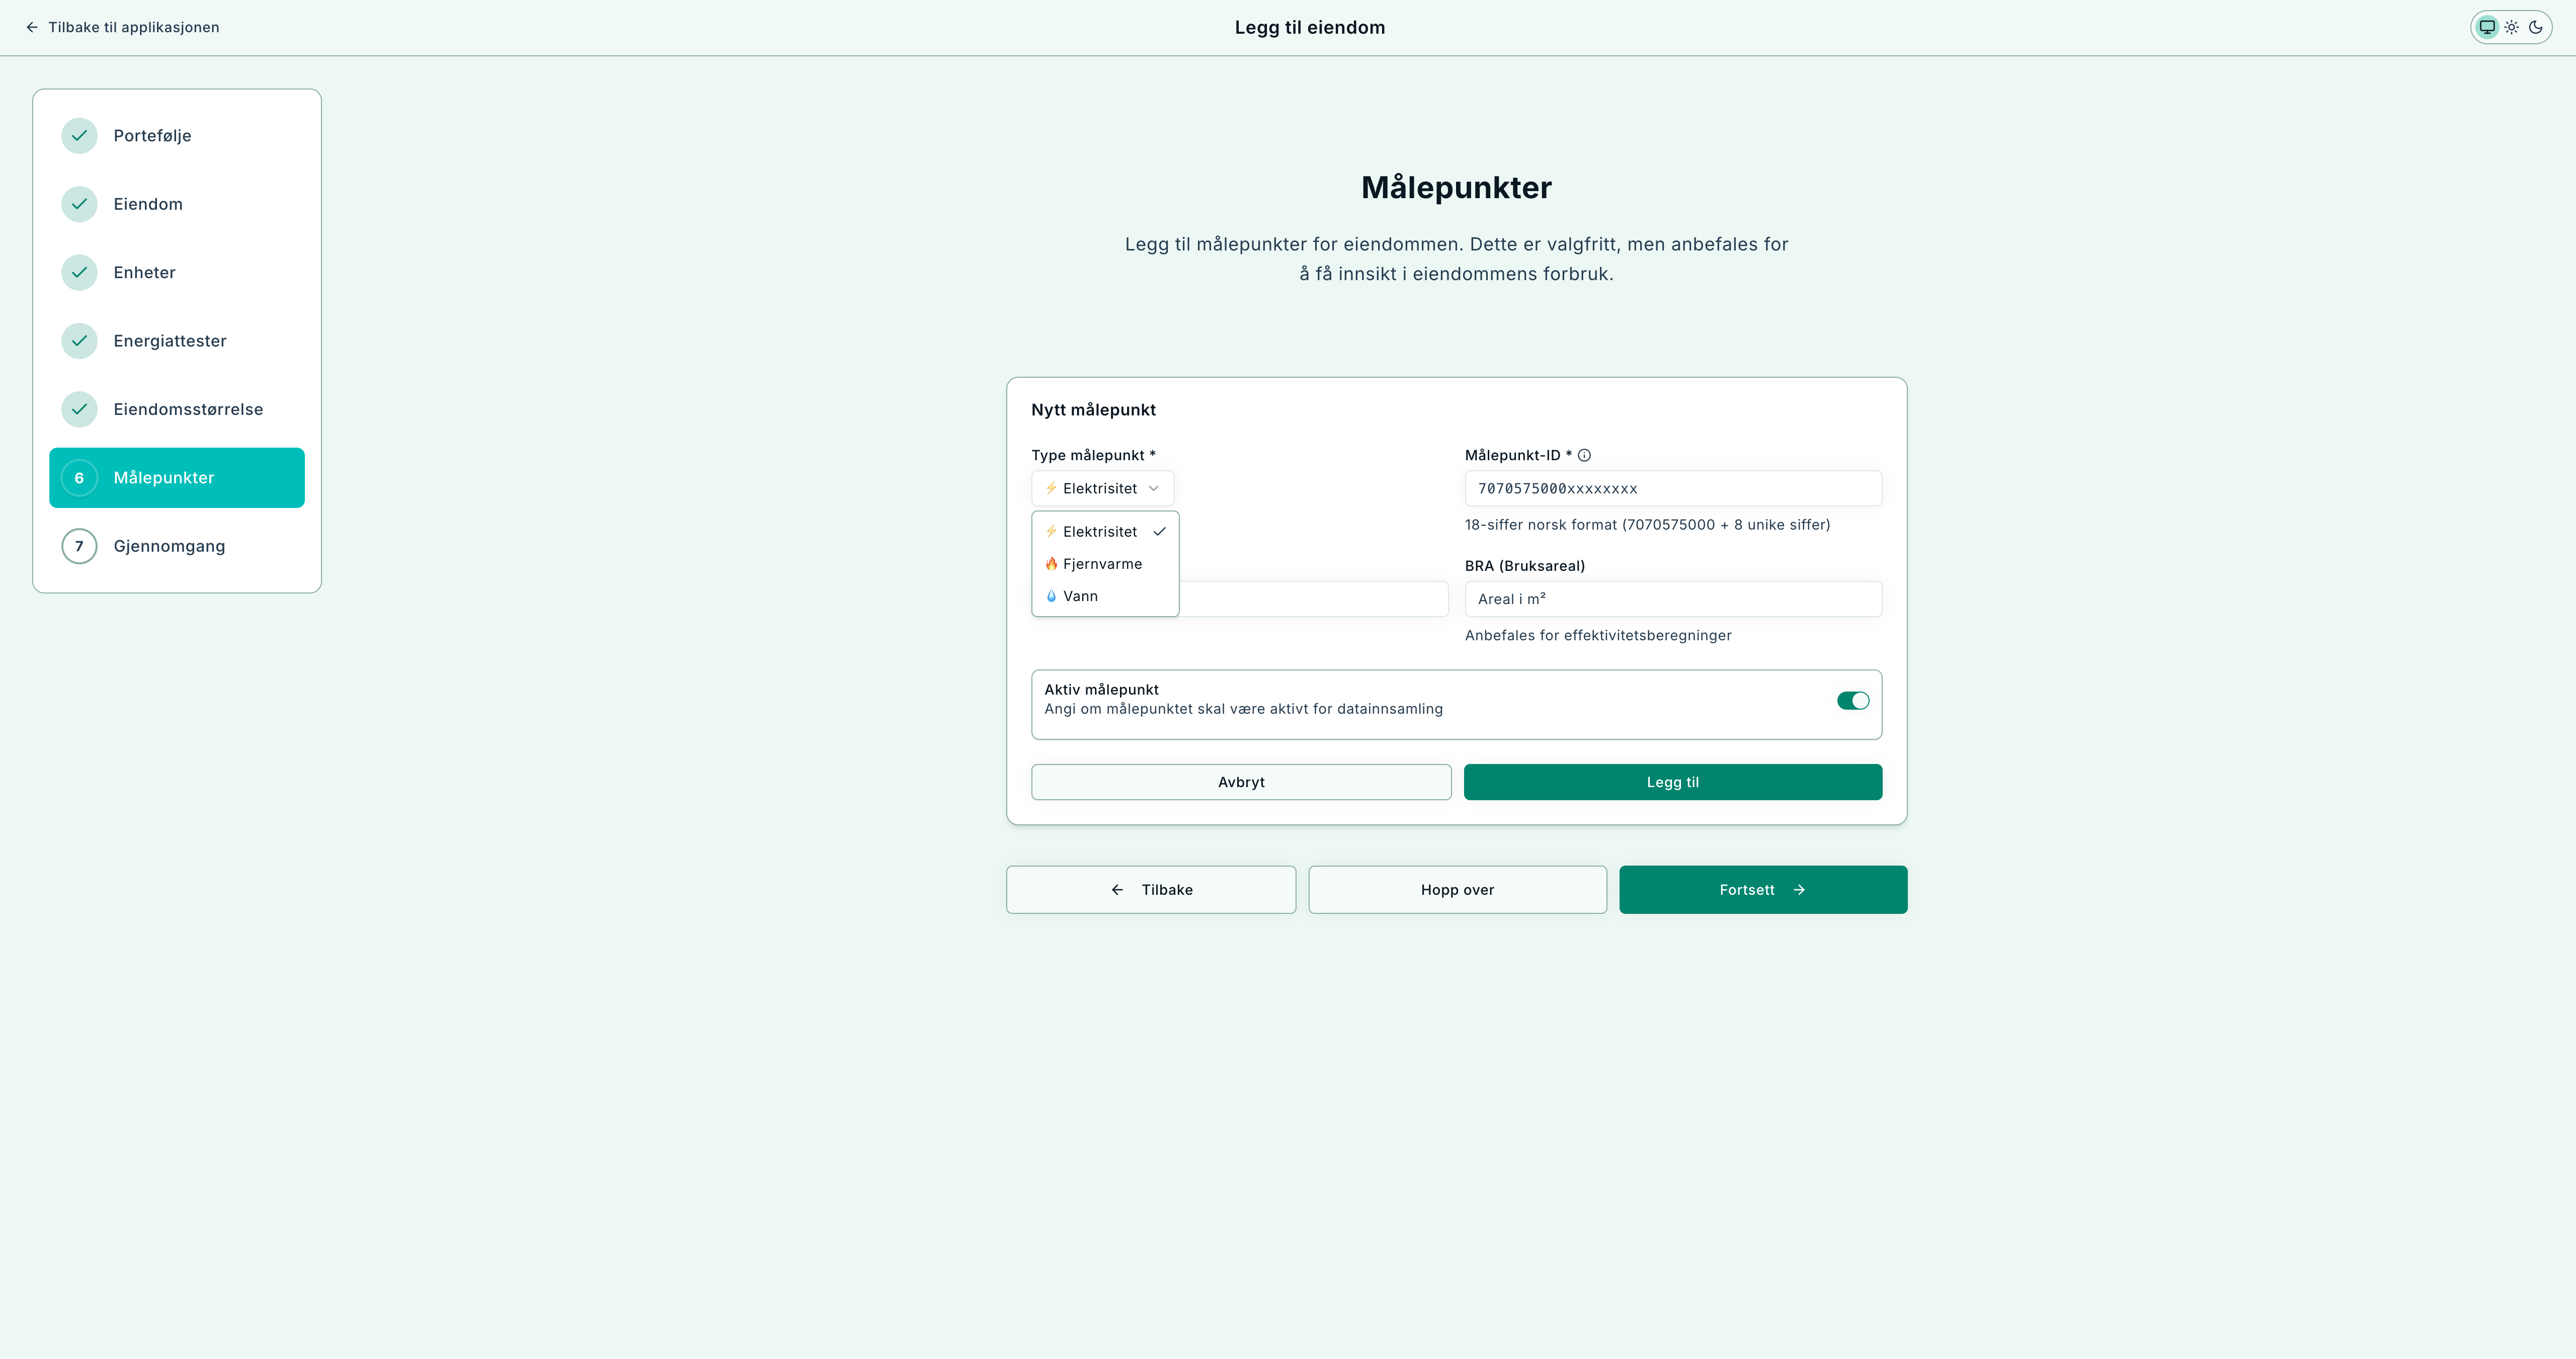
Add metering points for electricity, heating, or water. This step can also be done later.
7. Review
- Check the summary: portfolio, address, units, certificates, tenants, metering points.
- Click Finish to create the property.
Key terms
- Slug – short, URL-friendly name. Rarely changed – choose something stable.
- Gnr/Bnr/Snr – cadastral identifiers. Correct values improve data quality.
- BRA (floor area) – used in intensity and value calculations.
- Energy certificate – official documentation, provides theoretical key figures.
Checklist before finishing
- Address and coordinates are correct
- BRA is realistic and documented
- Certificates are correct and representative
- Metering points are set correctly (main meters, not sub-meters)
Troubleshooting
- Address not found → try alternate spelling, check municipality, or enter coordinates manually
- Certificate import failed → upload PDF manually and register key values
- Metering point has no data → check ID, type, and that the meter is active
FAQ
- Do I need certificates before finishing? No, they can be added later.
- Can I skip metering points? Yes, add them when you have the information.
- Can I move a property to another portfolio later? Yes, via administration.
- What if I close the wizard? Progress is saved locally for a few hours – you can continue later.